And then it was Sunday, with nothing to do except a ton of reading and Epi homework. It was time to dye.
The Ingredients:
Paton's Classic Wool Merino yarn, Aran (on sale!) - 2 skeins
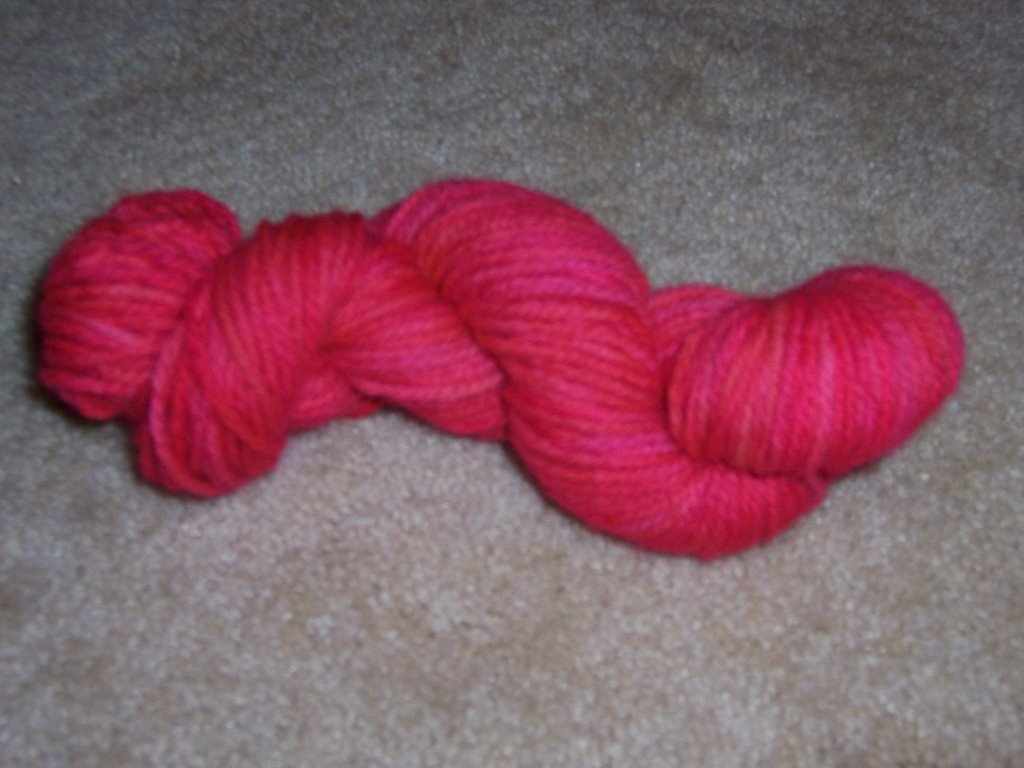
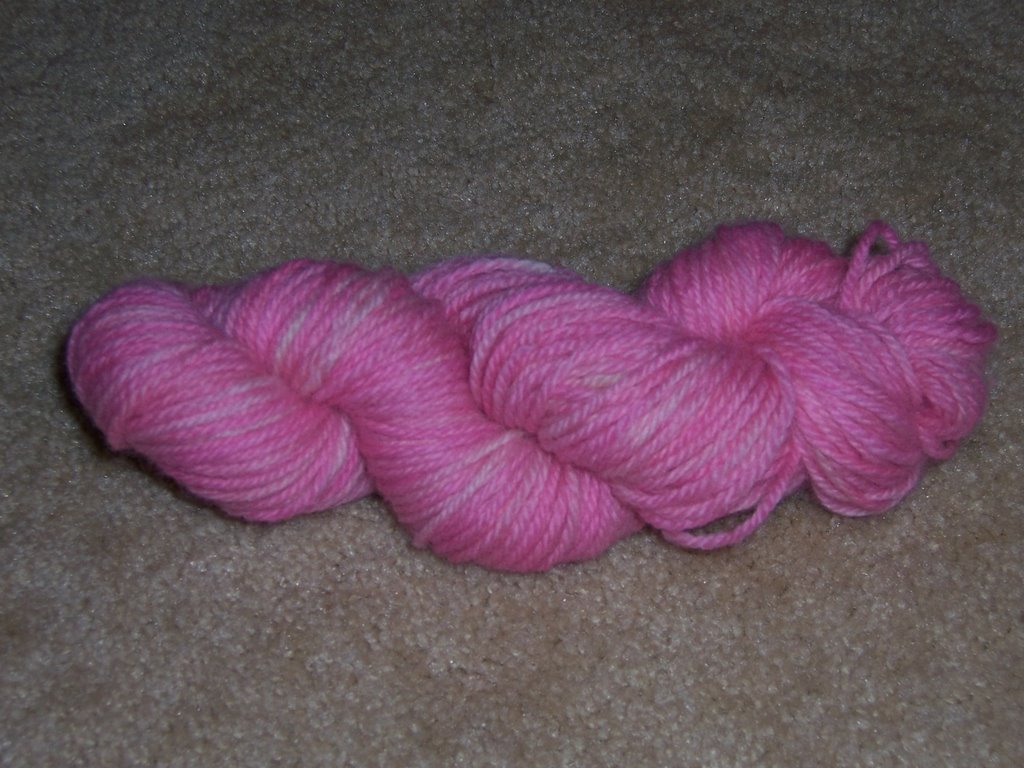
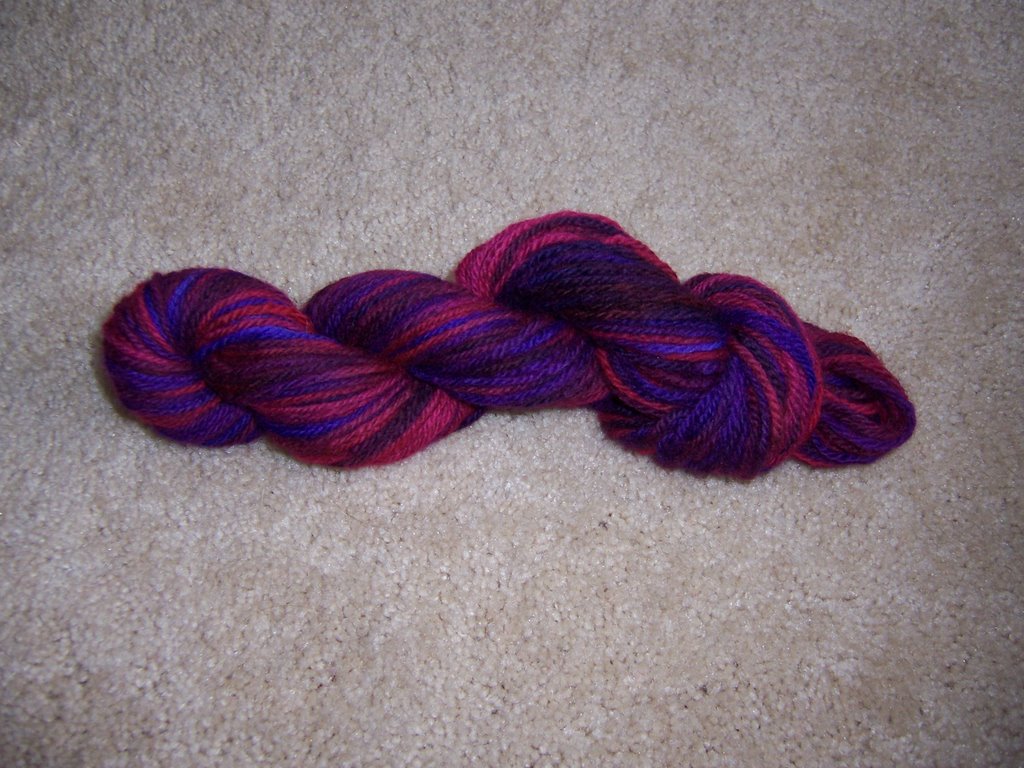
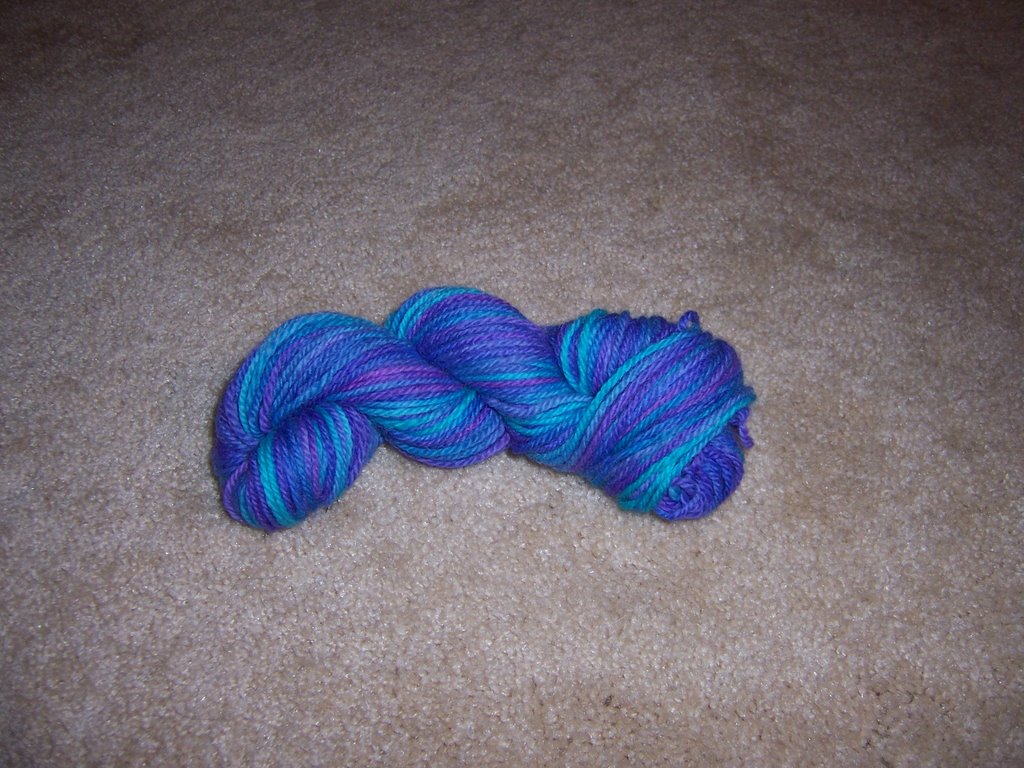
Wilton's Dye Gel - 1 bottle each: pink, violet, burgundy, teal
Vinegar
Plastic cups and knives left over from Thursday's Grey's party
Lots of Glad wrap
Pyrex baking dish
2 pots, intended for herb planting
The Process:
1. I wrapped the yarn around the two pots, splitting each ball into two hanks.

2. I tied 4 pieces of yarn loosely around each hank, in order to keep it from falling apart/tangling.
3. I soaked each hank in hot tap water and some vinegar (I guess one "glug" per hank), squeezing out the air. I let the hanks soak while preparing the dye.
 (My helper is the one and only Berkelface, aka Berkley)
4. For the dye, I put a dab of color into each plastic cup and added hot tap water, mixing with the knife. For the first hank, I made the colors really strong, and had to make more in order to cover the yarn. I played with the ratios of dye:water for the rest of the hanks.


5. I squeezed out the yarn, and placed it into the Pyrex dish (for the first hank, I tried to stretch it out on plastic wrap and add the dye, but ended up with a leaky mess - it turned out, but definitely wasn't the easiest way to go).

6. I poured the dye from the cups onto the yarn in the dish, squishing it in with the knives (originally, I used my hand covered with a plastic bag, but again with the mess). I added a little more water to some, though there wasn't a lot of logic behind it.

7. I covered the dish with plastic wrap and poked holes in the top.
8. I put the dish in the microwave and nuked it for 2 minutes at a time, allowing it to sit for a bit inbetween (mostly because I'm lazy and didn't want to run to the kitchen all the time). I repeated the 2-minute cycles until I thought the water was mostly clear, or in the case of the first hank, decided nothing else was going to absorb. I let the dish sit for a while in the microwave in order to cool down.
9. I poured off the excess water and then put the yarn into a bowl with cool water and a tiny drop of dishwashing soap (mostly to try and counteract the wet-wool smell). I gently wrinsed the yarn until the water ran clear, and then squeezed the yarn dry.

10. I hung the yarn to dry. It took a while, about a day, probably because I had to hang them inside as the weather is iffy right now.

11. After they were dry, I wound them into skeins, and voila!
In the middle of this, Epidemiology homework did get done, though pathophys is waiting until tomorrow...